

.jpg)
What you will get and how fast
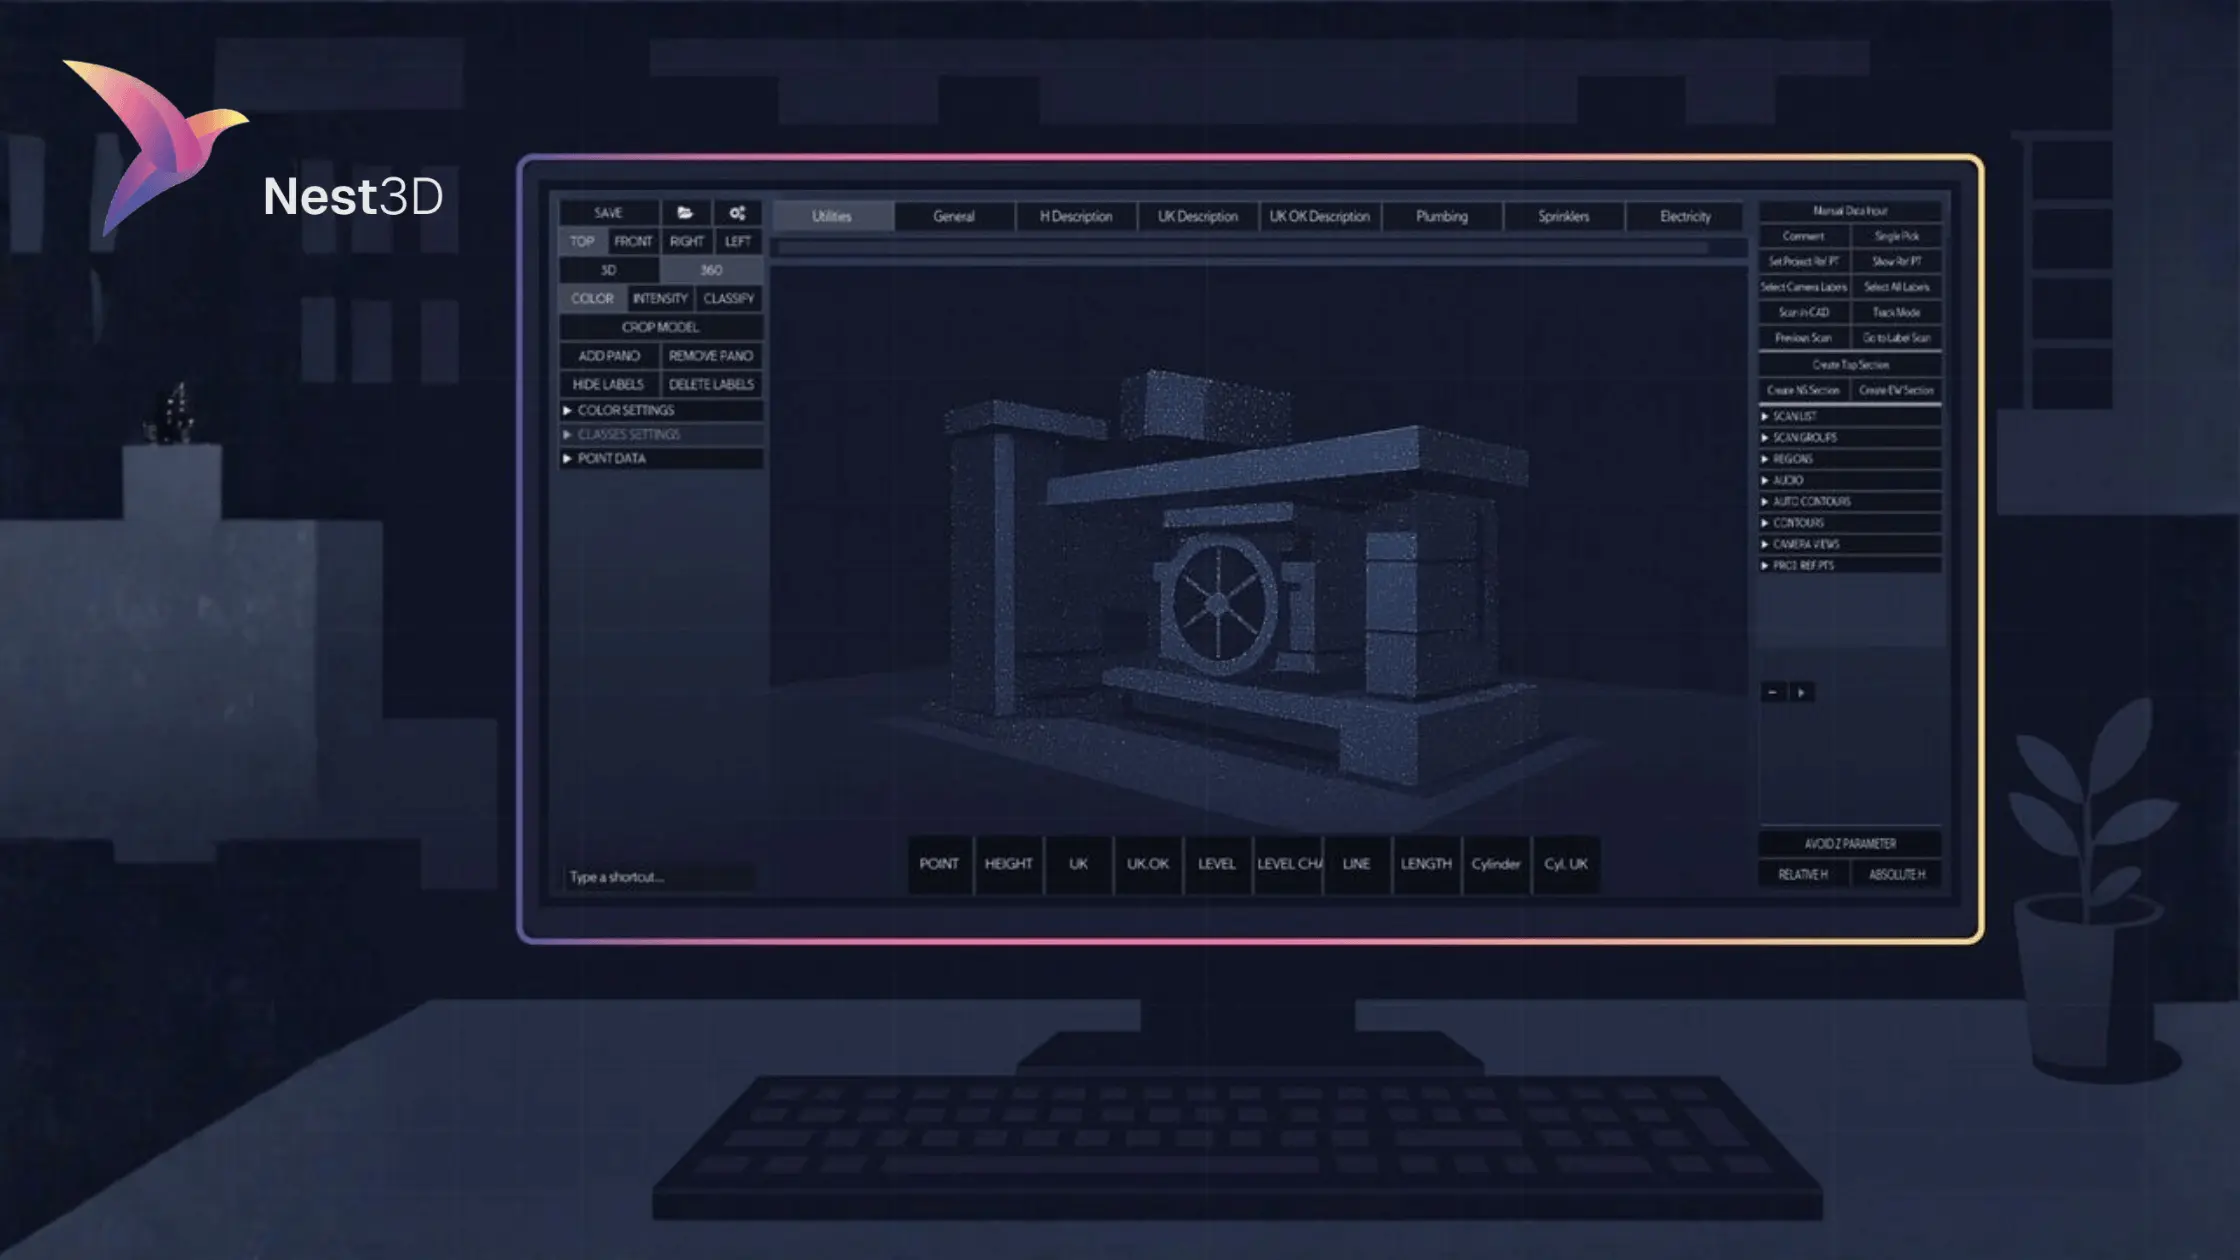
If you need to turn E57 or FLS scans into an editable 2D DWG inside AutoCAD, this guide shows the complete workflow. The plugin uses panorama picking so your clicks in the scan create linework on the correct layers in your DWG. Junior staff can execute while seniors review. Teams using this method often see about 60 percent less drafting time compared with manual slice and trace.
Related guides
Working by format. See E57 to DWG and FLS to DWG.
Want the overall method. See Point Cloud to DWG for 2D Plans.
Key outcomes
- A clean 2D DWG that follows your template for layers, linetypes, text styles, and blocks.
- Linework measured on the point cloud for accuracy.
- A practical QA checklist to keep rework low.
- Simple install with a free 15 minute setup if you prefer help.
Requirements and recommended setup
AutoCAD
- Recent, stable AutoCAD on Windows.
- Permissions to install and load the plugin.
Your DWG template
- Layers, linetypes, text styles, blocks, and dimension styles you actually use.
- Blocks for doors, cores, symbols, north arrow, title block.
- A short layer naming guide helps reviews.
Point cloud input
- E57 or FLS with registration completed in your capture or processing software.
- Units confirmed.
- Density appropriate to the scale you will draw.
- Color is optional but helps visual picking.
Project choices
- Decide relative vs absolute heights before you start.
- Confirm north or project rotation.
- Define the deliverable: single level plan, multi level plan, or site plan.
Install and first run
Option A: Free guided install
- Submit the short form
- Choose the free 15 minute setup and we will install with you, confirm the DWG template path, and open a sample project.
Option B: Self install
- Run the installer and open AutoCAD.
- Confirm the toolbar appears and the license is active.
- Open a sample to verify picking creates linework on mapped layers.
Tips
- Keep one AutoCAD session open during install.
- Store the DWG template in a shared location so the team uses the same standards.
Template setup for layers, linetypes, and blocks
Your DWG template controls quality and speed.
- Map walls, doors, cores, windows, stairs, and survey points to target layers.
- Confirm linetypes are present and scale correctly at print scale.
- Standardize text styles for room names, notes, and levels.
- Use a consistent CTB or STB for lineweights.
- Keep a small block library for common symbols and title elements.
Why it matters
When the template is right, panorama picking writes clean linework to the correct layer with the correct appearance. That is where most of the time savings come from.
Load point clouds in AutoCAD
- Open your DWG template.
- Load the E57 or FLS point cloud.
- Confirm units.
- Choose relative or absolute heights as the project requires.
Tips
- For multi level buildings, create a named view per level.
- Lock a project north early to keep orientations consistent.
Make a thin, readable slice
- Create a horizontal section plane at the target level.
- Set a slice thickness that captures walls and openings without clutter.
- Use named views so you can return to a clean working state.
Rule of thumb
Thin slices usually improve picking accuracy for interiors. For sites and topography, use a thicker slice and absolute heights.
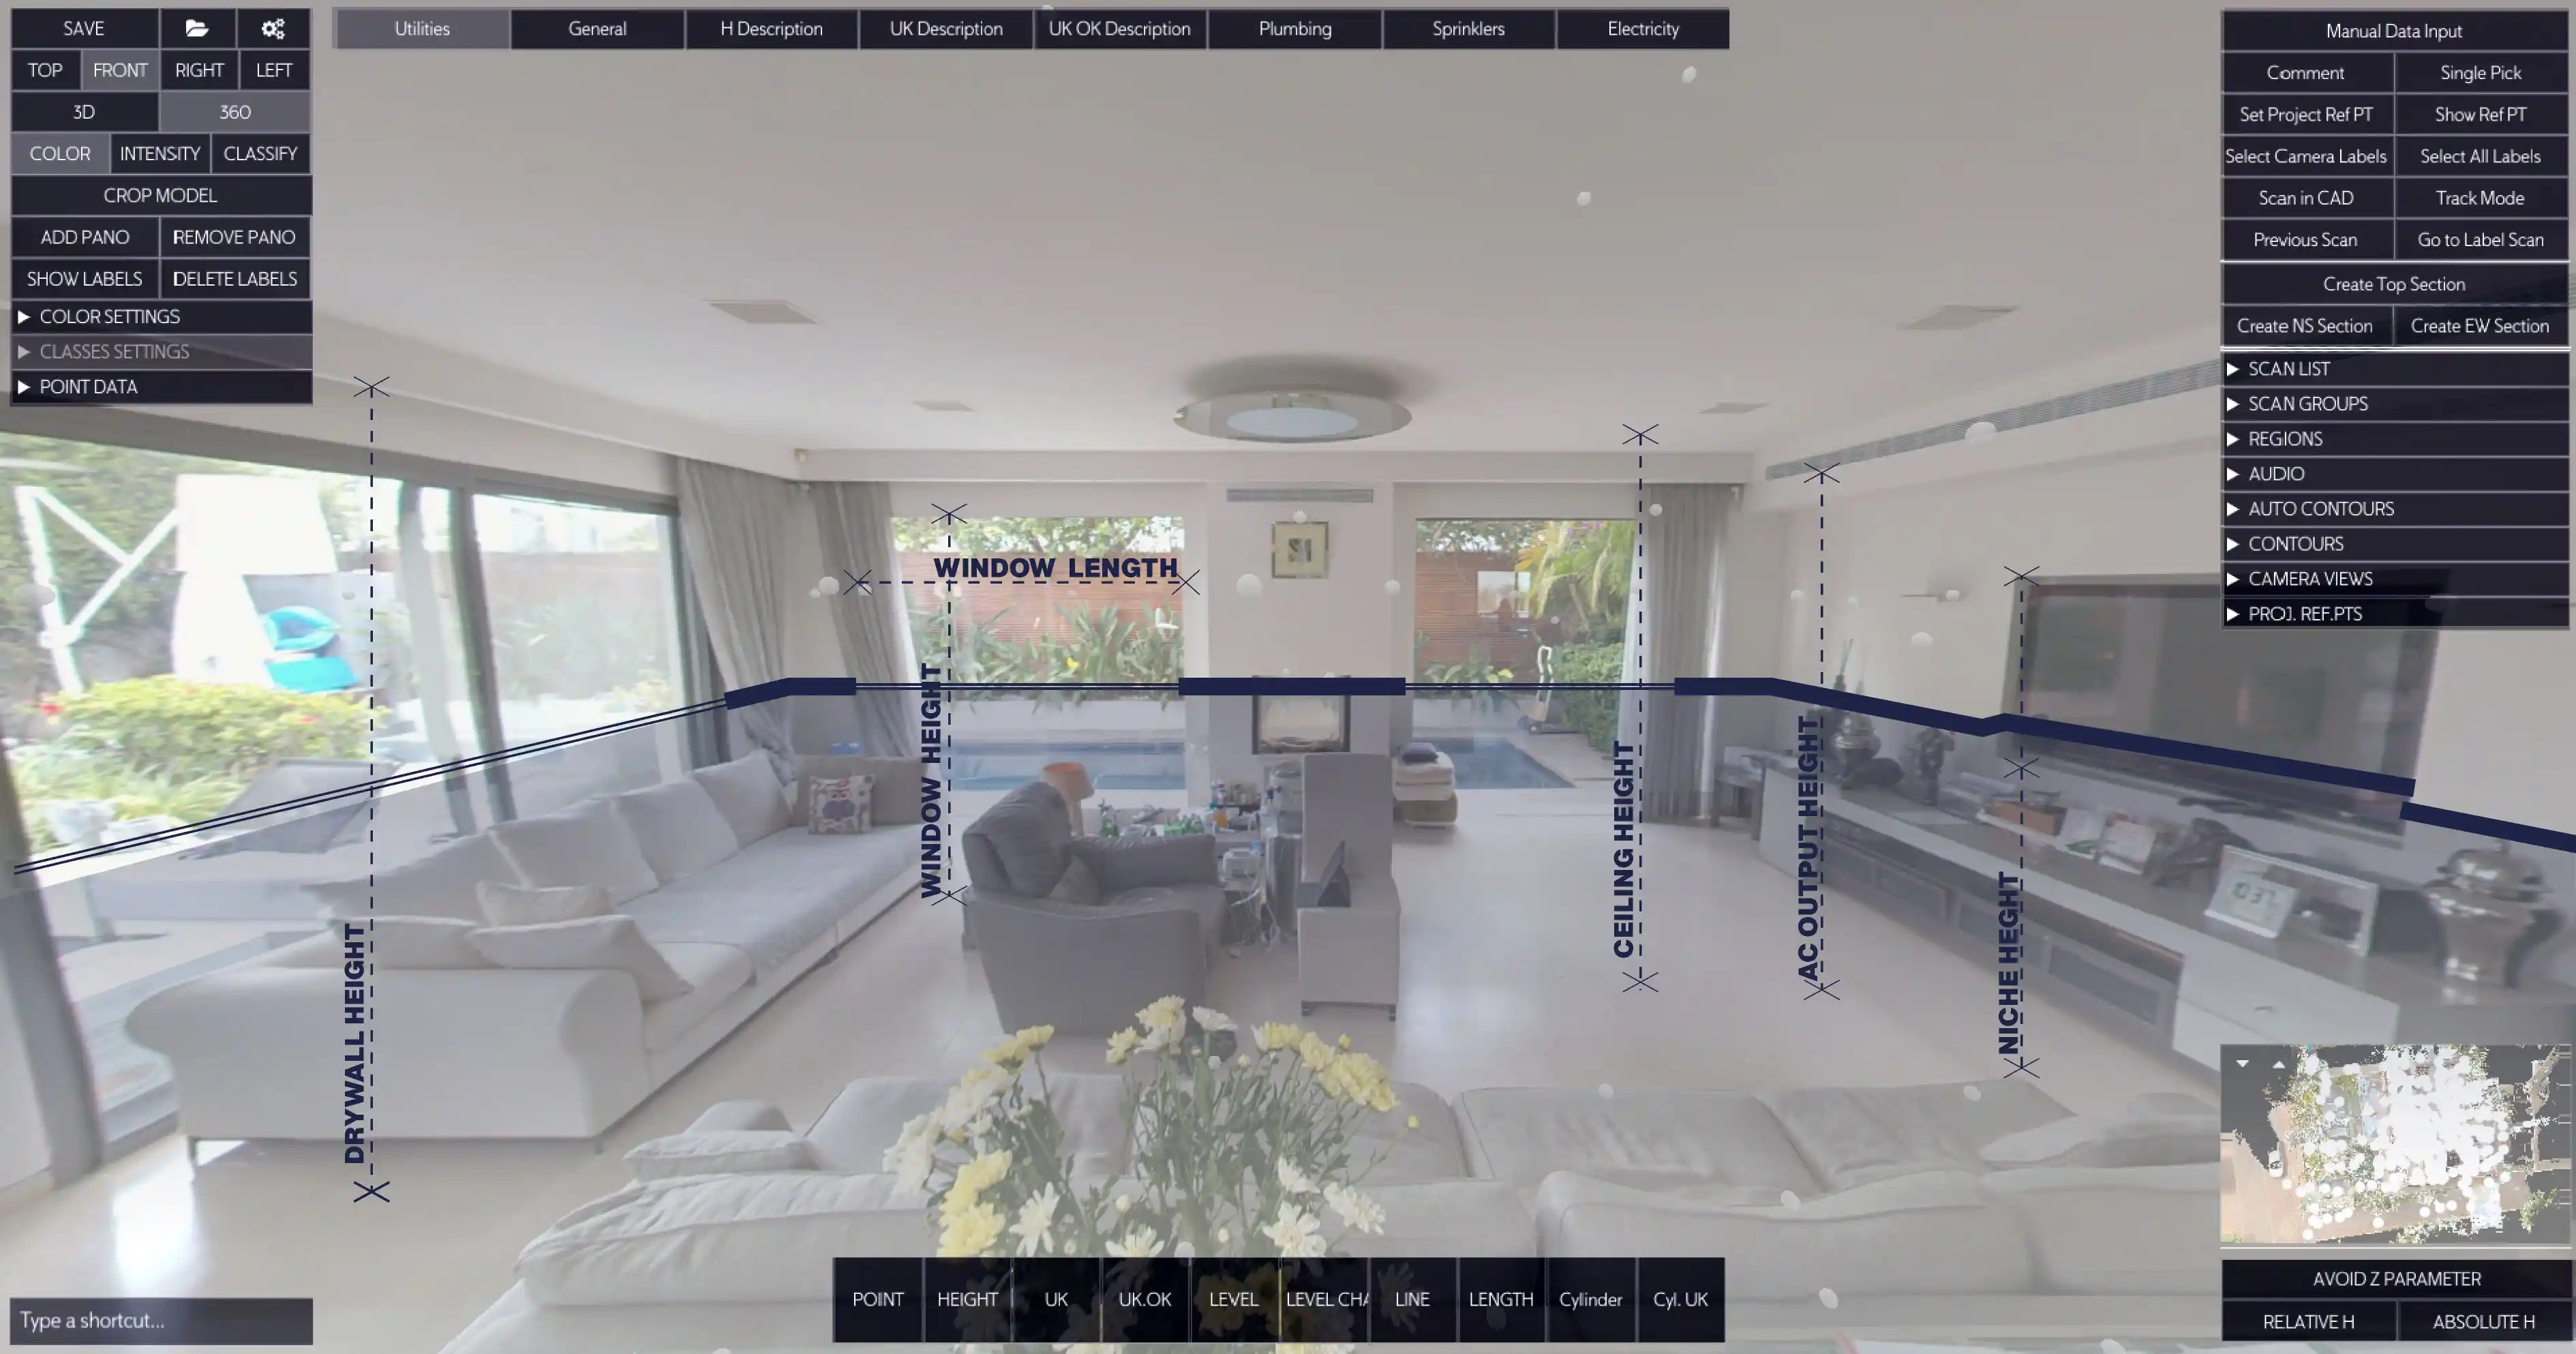
Panorama picking inside AutoCAD
- Open the panorama view from the plugin.
- Click features in the scan: walls, doors, cores, openings, survey points.
- Use Custom Buttons to insert mapped blocks and place text that matches your standards.
- Watch linework land on the correct layers with the right linetypes.
Accuracy tips
- Work room by room.
- Keep only the necessary layers visible in AutoCAD while you pick.
- Use AutoCAD snaps and ortho as you normally would for drafting clarity.
Scan Manager for performance
Big scans are fine if you control visibility.
- Toggle scans on and off to limit what is displayed.
- Section before picking so the viewport stays responsive.
- Close other heavy apps while working with very large point clouds.
Export and QA a clean 2D DWG
- Save your drawing as a new 2D DWG deliverable.
- Print preview at 100 percent to check linetypes, lineweights, and text sizes.
- Run the QA checklist below.
- Add sheet notes, north arrow, and title data as required.
Need CAD specific tips for other tools
See BricsCAD Point Cloud Plugin and ZWCAD Point Cloud Plugin.
Quick steps for a featured snippet
- Open your DWG template in AutoCAD.
- Load the E57 or FLS and confirm units.
- Create a horizontal section and set a thin slice.
- Use panorama picking to click walls, doors, cores, and survey points.
- Place blocks and text with template standards.
- Save and audit a clean 2D DWG.
- Print to PDF to verify appearance.
QA checklist before delivery
Scale and units
Measure a known distance in AutoCAD. If needed, correct units and rescale using a baseline.
Layer mapping
Isolate new layers and spot check walls, doors, cores, and survey points. Update the template mapping if needed, then repick or move by filter.
Linetypes
Check centerlines, hidden lines, and contours at print scale. Reload or adjust linetype scale if required.
Lineweights
Preview with your CTB or STB. Load the correct table and reassign by layer if needed.
Text heights
Verify room names, levels, and notes are readable at the intended scale. Standardize paper heights in text styles.
Blocks and symbols
Confirm doors, cores, north arrow, legends, and title components are correct. Replace nonstandard blocks and purge unused items.
Coordinates and north
Confirm orientation against the project. Rotate view or UCS to project north if required.
Elevation datum
Verify relative versus absolute heights are correct for the deliverable.
Title block metadata
Fill project name, date, scale, and sheet ID. Lock title block layers.
File weight and performance
Purge, clean, and hide unused content. Thin or hide scans before export if needed.
Troubleshooting and quick fixes
Export looks empty or too light
Increase slice thickness slightly, move the section to the correct height, and verify visibility in Scan Manager.
Navigation feels slow
Show fewer scans, keep a thin slice, and close heavy apps.
Distances measure wrong
Units mismatch between scan and DWG. Confirm units before picking. If already drawn, scale by a known baseline and correct units.
Linework lands on wrong layers
Template mapping is incomplete or has duplicates. Standardize names and mappings, then repick or move by filter.
Blocks or text the wrong size
Text styles or block scales do not match paper scale. Adjust styles, replace nonstandard blocks, purge and reinsert.
Walls look jagged
Slice includes clutter or the cloud is very dense. Narrow the slice and hide noisy scans.
Shortcuts and settings reference
- OSNAP for clean intersections.
- ORTHO and Polar Tracking to guide straight segments.
- Layer Isolate while checking new geometry.
- Named views for each floor or section so you can return quickly.
- Purge before final export to keep DWG light.
FAQs
Which scan formats work
You can load E57 and FLS. For format walkthroughs see E57 to DWG and FLS to DWG.
How large can my point cloud be
Very large files are fine if you control visibility with section planes and Scan Manager.
Will the DWG follow our standards
Yes. Linework lands on the layers, linetypes, text styles, and blocks from your DWG template.
Do you support BricsCAD or ZWCAD
Yes. See BricsCAD Point Cloud Plugin and ZWCAD Point Cloud Plugin.
Ready to export your first 2D DWG
Convert E57 or FLS to a clean 2D DWG inside AutoCAD in minutes. No credit card. Free 15 minute setup included.

Turn Point Clouds into CAD in Seconds
Cut drafting time by 60 percent and deliver accurate DWG drawings without manual tracing. Try Nest3D free for 14 days with no credit card required.
Get Started for Free
.svg)


.svg)
