


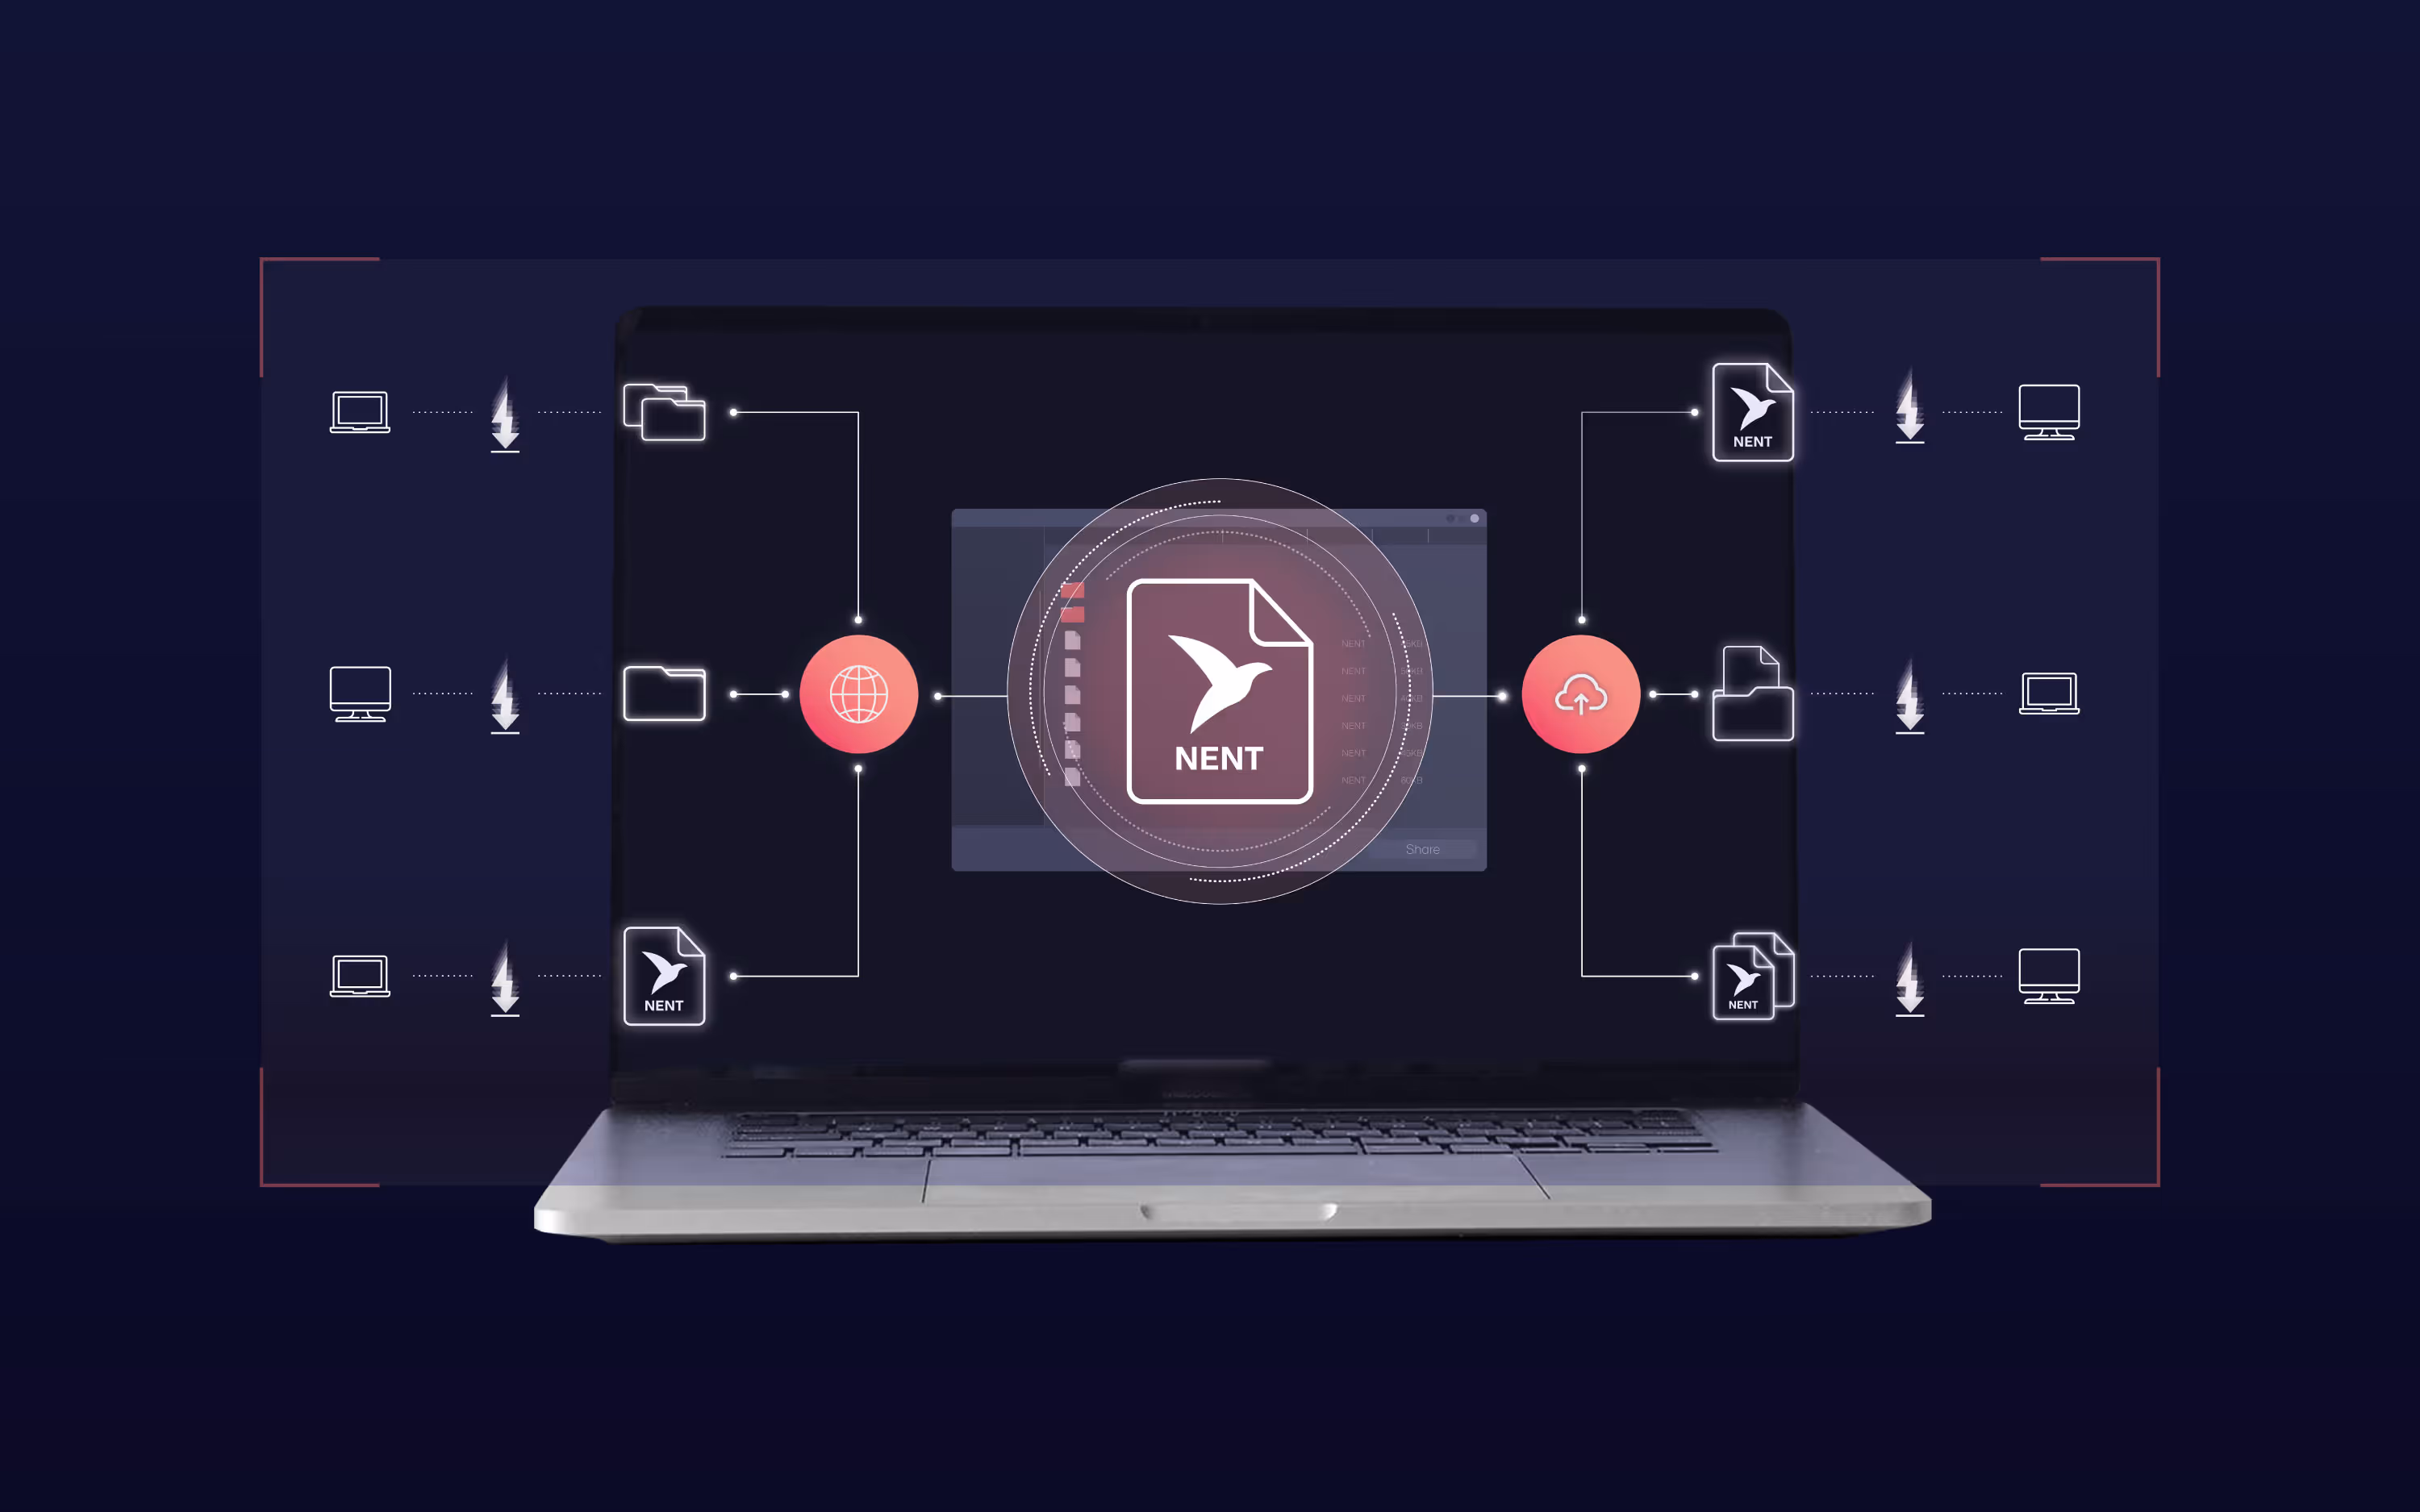
Converting a point cloud to DWG is one of the most common tasks in modern surveying, engineering, and architecture. Point clouds capture millions of 3D measurements, but raw data alone is not practical for clients or project teams. Through point cloud to CAD conversion, scans are transformed into editable drawings that follow established templates, layers, and blocks.
DWG is the format of choice because it integrates directly with AutoCAD, BricsCAD, and ZWCAD, making it the industry standard for 2D plans, elevations, and site drawings. The challenge is that traditional methods are slow, costly, and often inconsistent.
If you are working with E57 scans, see our dedicated guide on E57 to DWG. For Faro FLS scans, check out FLS to DWG. These format-specific walkthroughs give you a step-by-step process for each file type.
In this article, we explain why DWG deliverables are essential, the problems with manual conversion, and how automation tools like Nest3D help surveyors deliver accurate CAD drawings up to 60 percent faster.
Why Point Cloud to DWG Conversion Matters
Raw point clouds are rich in detail but too heavy and unstructured to serve as project deliverables. Clients expect clean drawings that can be edited, shared, and standardized across teams. That is why point cloud to DWG conversion is a critical step in the workflow.
When done correctly, converting to DWG ensures:
- Compatibility with AutoCAD, BricsCAD, and ZWCAD
- Clarity by translating millions of points into readable linework
- Consistency through company templates, layers, and block libraries
- Efficiency with faster production and less rework
Without this step, survey teams risk delivering data that is technically accurate but practically unusable. A well-structured DWG not only saves internal time but also builds client trust, since the drawings are ready for design and documentation immediately.
The Role of Point Cloud to CAD Conversion
At the heart of every project is the process of point cloud to CAD conversion. This step takes raw scan data, often captured in formats like E57 or FLS, and translates it into CAD geometry that teams can use immediately.
While DWG is the most common output, the same conversion process can produce plans, elevations, and sections in other CAD environments. The key is that the conversion transforms millions of 3D points into accurate, lightweight, and editable drawings.
Benefits of point cloud to CAD conversion include:
- Editable geometry instead of static scan data
- Smaller, manageable file sizes compared to raw point clouds
- Standardized outputs that follow CAD templates and blocks
- Accurate deliverables that align directly with measured conditions
By approaching the process as a structured conversion rather than a manual tracing exercise, surveyors and CAD teams save time, reduce costs, and provide deliverables that clients can act on without delay.
The Challenges of Manual Conversion
For years, the standard approach to turning point clouds into CAD drawings was manual tracing. Surveyors would load a dense scan into CAD, slice it into planes, and redraw each wall, opening, or elevation by hand. While this method works, it introduces serious inefficiencies.
Common challenges include:
- Slow turnaround as redrawing even a modest project can take 30 to 40 hours
- Inconsistent accuracy since interpreting millions of points manually often leads to errors or missing details
- High labor costs because senior staff are tied up with repetitive drafting instead of higher-value tasks
- Outsourcing risks where quality varies, deadlines slip, and costs escalate when work is sent to external teams
Manual conversion can deliver results, but it rarely scales. As projects grow larger and deadlines get shorter, traditional methods create bottlenecks that reduce profitability and increase delivery risk.
How Automated Point Cloud to DWG Conversion Solves the Bottlenecks
Modern workflows replace days of manual tracing with guided automation. Instead of slicing endlessly through point clouds, surveyors can extract features directly inside CAD and watch linework appear instantly on the correct layers. This approach removes the common pain points of slow turnaround, high labor costs, and inconsistent accuracy.
A typical automated workflow looks like this:
- Import scans in formats such as E57 or FLS without heavy conversions
- Open your DWG template in AutoCAD, BricsCAD, or ZWCAD with all layers, blocks, and linetypes ready
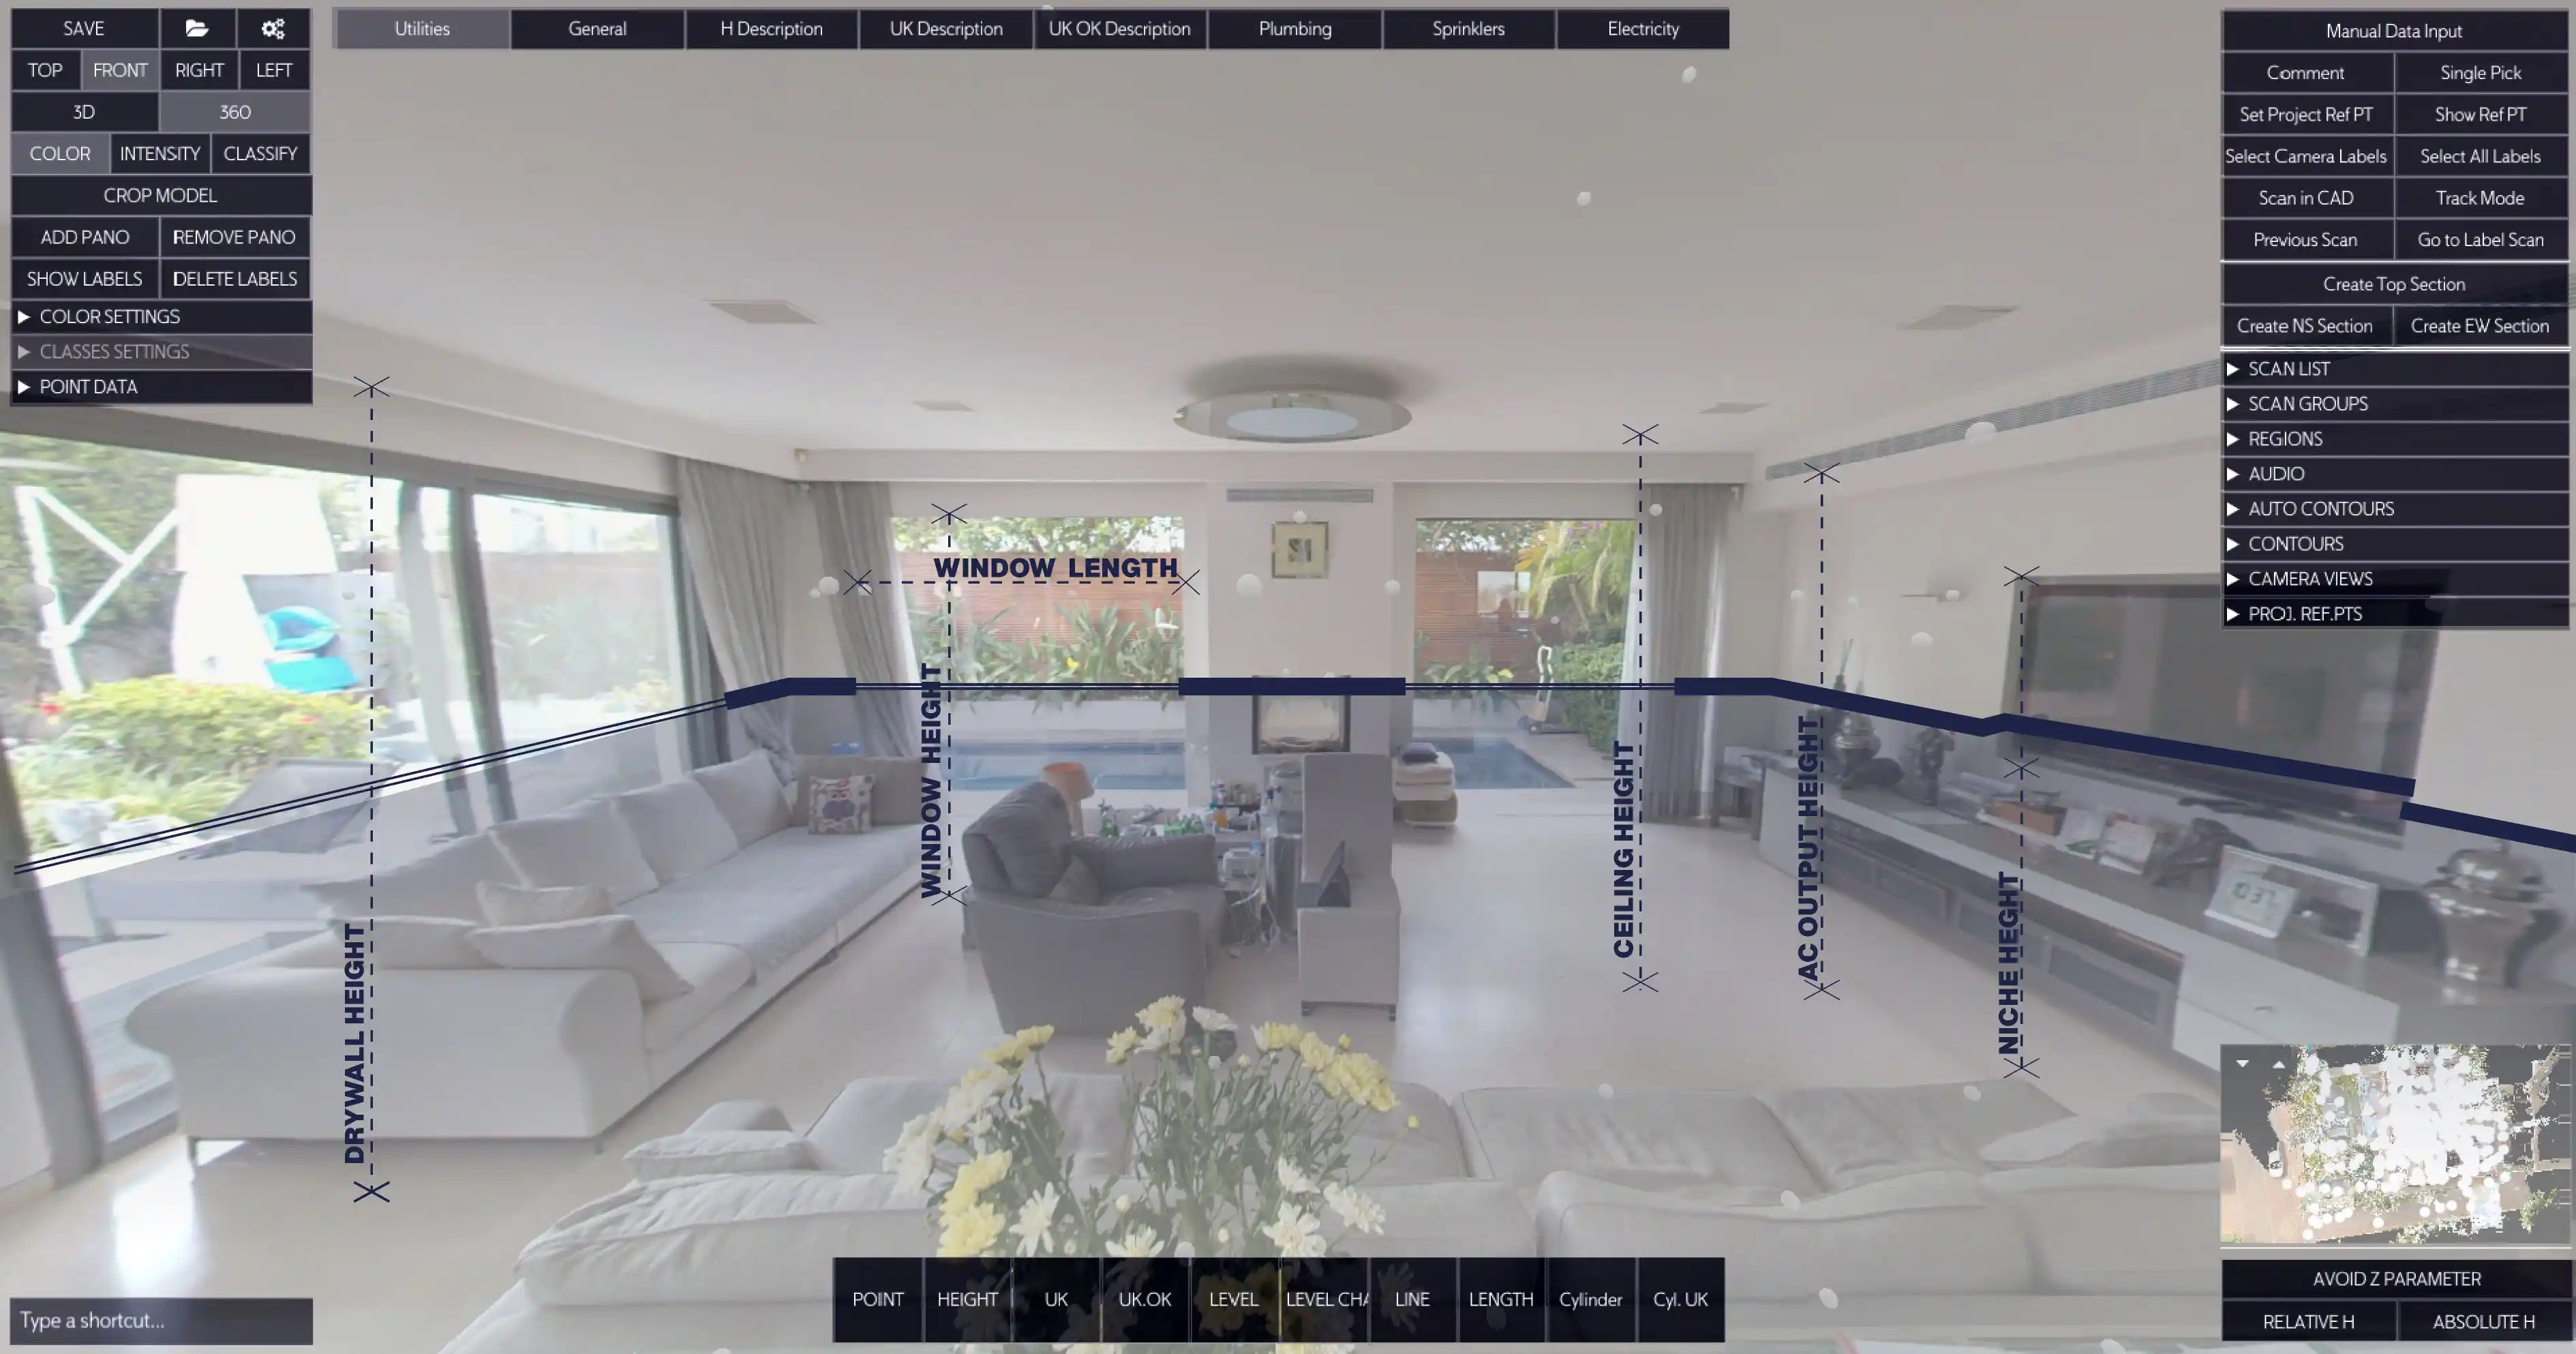
- Navigate in a 360° image workspace to view the scan in context
- Click features once to extract walls, doors, heights, or survey points directly into CAD
- Review and deliver with a drawing that is already production-ready
The result is a workflow that is faster, more reliable, and easier to scale across teams. By moving away from manual tracing, surveyors gain time for higher-value tasks and deliver accurate DWG drawings that clients can use immediately.
Point Cloud to CAD Conversion in 3 Simple Steps
Turning scans into CAD drawings no longer needs dozens of steps. With automation, the process is reduced to three essentials:
1. Load your scan
Import your registered E57 or FLS file directly inside AutoCAD, BricsCAD, or ZWCAD.
2. Pick features in the 360° panorama
Navigate visually, click on walls, doors, or survey points, and watch clean linework generate instantly.
3. See changes live in your CAD tool
Geometry lands on the correct layers, linetypes, and blocks from your DWG template. The drawing is ready for review and delivery without extra cleanup.
The Benefits of Automated Point Cloud to DWG Conversion
Switching from manual tracing to automation changes project outcomes immediately. Surveyors using Nest3D consistently report:
- Faster drafting with up to 60 percent less time compared to manual methods
- Lower costs through reduced reliance on senior staff and outsourcing
- Higher accuracy because linework ties directly to scan data instead of hand interpretation
- Consistent standards since every deliverable follows your DWG template for layers, linetypes, and blocks
- Scalable production where junior staff can handle drafting and senior staff focus on review and client delivery
Instead of struggling with heavy point clouds and endless redrawing, teams finish projects faster, more reliably, and with deliverables that clients can use immediately
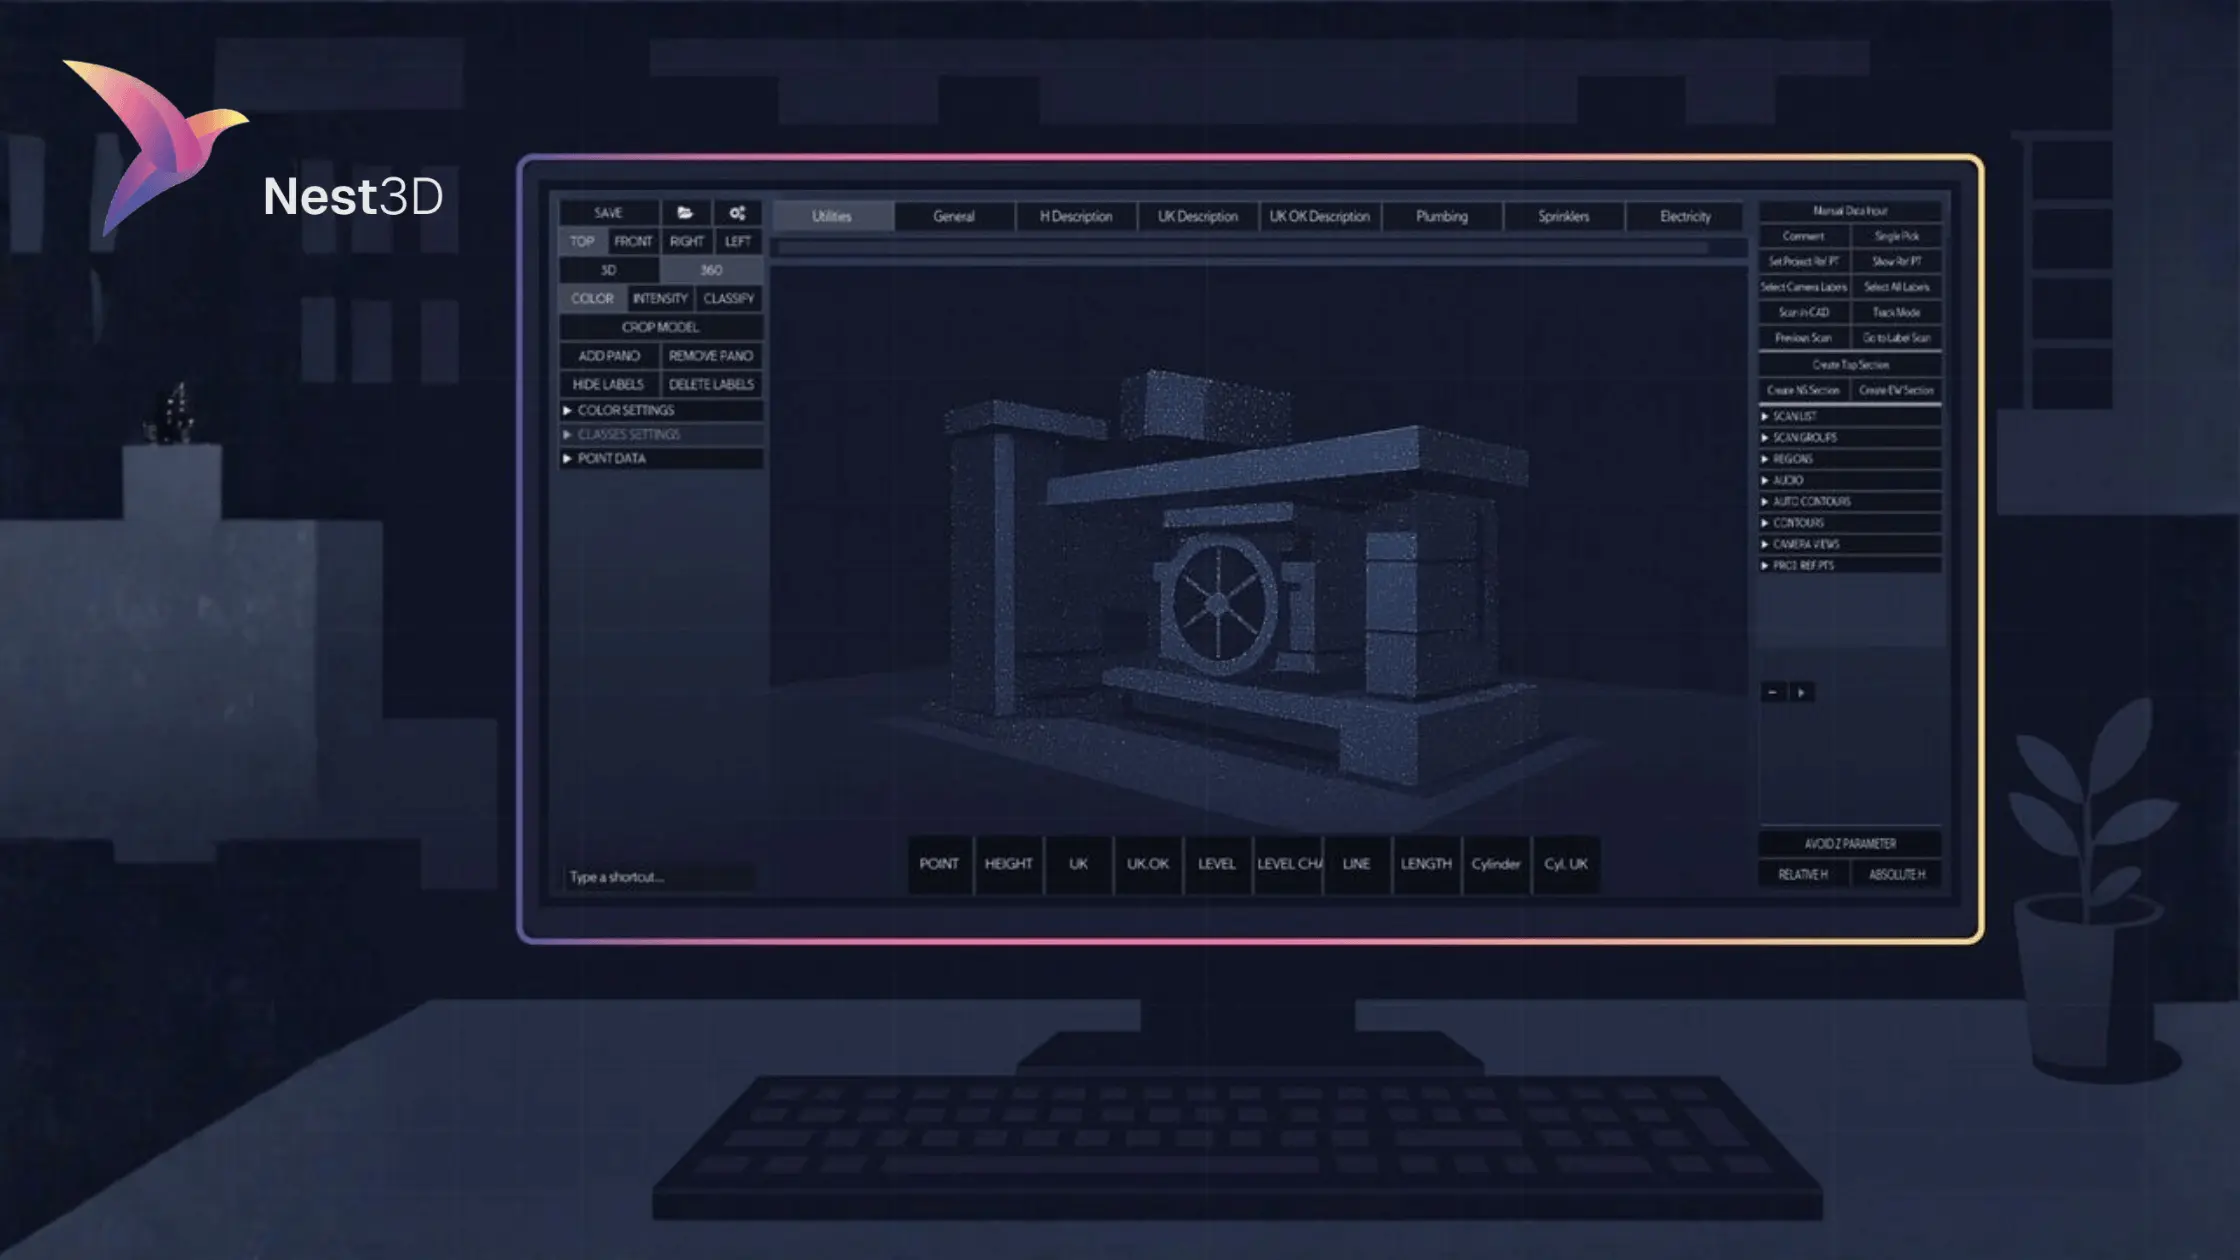
Why Nest3D Fits Your Workflow
Most tools stop at viewing or processing scans. Nest3D is built to complete the job by converting point clouds directly into CAD drawings. Instead of exporting, re-tracing, or cleaning up layers at the end, you work live inside AutoCAD, BricsCAD, or ZWCAD with your own templates.
Key features that make Nest3D different:
- 360° image navigation to pick features visually with confidence
- Direct DWG integration so geometry lands on the correct layers every time
- Custom toolbar buttons to drop your own blocks, text, and symbols instantly
- Support for large projects with lightweight scan management across multiple files
- Proven results with survey teams cutting drafting time by up to 60 percent while maintaining accuracy and standards
Nest3D was designed to remove the bottlenecks that slow projects down. The result is faster delivery, lower costs, and dependable drawings that match your company’s standards every time.
Frequently Asked Questions About Point Cloud to DWG Conversion
Conclusion: Faster, Smarter Point Cloud to DWG Conversion
Manual tracing and outsourcing are no longer practical when projects demand speed, accuracy, and consistent standards. Automated point cloud to CAD conversion with Nest3D turns raw scans into production-ready DWG drawings directly inside AutoCAD, BricsCAD, or ZWCAD.
Surveyors using Nest3D report faster drafting, lower costs, and deliverables that match company templates every time. Whether you work on as-builts, renovations, or large-scale surveys, automation ensures your drawings are clean, accurate, and client-ready without the usual bottlenecks.
Turn Point Clouds into CAD in Seconds
Cut drafting time by 60 percent and deliver accurate DWG drawings without manual tracing. Try Nest3D free for 14 days with no credit card required.
Get Started for Free
.svg)


.svg)
